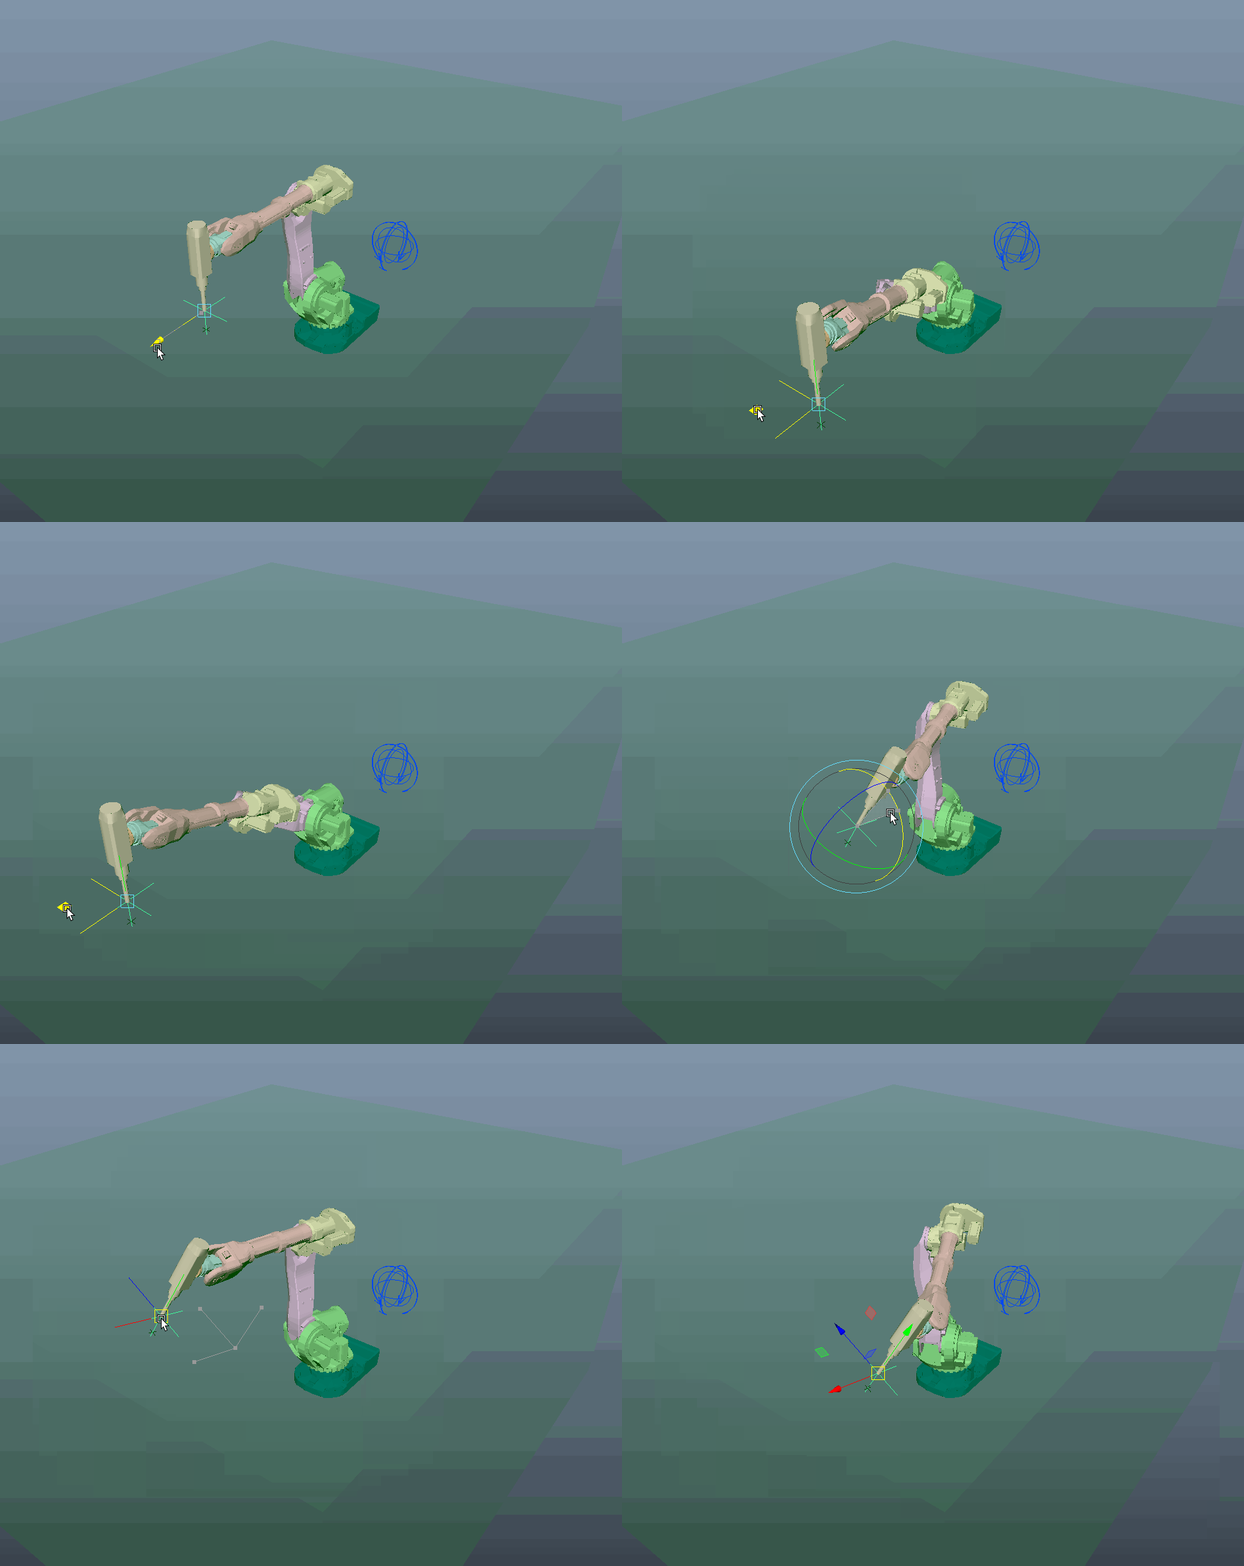
Robot Arm
Tools & Techart Topics
This was a great challenge, one of my first robot rigs and the idea was to have it drive an actual robot arm 'live'.
I got contacted via via as someone had aqcuired a mechanical arm similar to the ones used in the automotive industry, they told me that to operate the arm you need to feed it information line by line on how the seperate elements of the robot arm need to rotate. In order to do this a bit faster the usual way would be to either program the task that needs to be done using a controller to record the steps..
This was all new to me as I had no clue how to operate these machines or how it all would work, the only info that I got was a CAD model of the same machine with the exact dimensions and the lines of code that needed to be output to the machine.
The first code i got looked as follows,
MoveAbsJ [[Rotate_1,Rotate_2,Rotate_3,Rotate_4,Rotate_5,Rotate_6],[9E+09,9E+09,9E+09,9E+09,9E+09,9E+09]]\NoEOffs,vAxis_7,z50,tool0;which meant that we had to figure out what the rotations where and in which order. We tested this with really small values at the start as we did not know if the rotations where in radians or in degrees, from there we figured out which rotate was which element on the robot and continued to figure out the script.
Dased on these values I created the joints their orientations and the rotateOrder in which they operated. The next test on this was to export the rotation values on small movements to see if they overlap

- note: the green box in the images was the size of the safety zone within the room, we made sure that te movements would not go out of these bounds. and tested the movements further out to where the arm could not reach.
once all of these elements where in place we started looking at better ways to control the robot, as exporting rotate values on the axis did not work well as the robot could over extend 360 degrees on some elements but due to rig limitations this was not possible to add from maya. sometimes making the robot stop as is did not understand the command.
after a bit of digging we found another command that could work
MoveL [[Axis_X,Axis_Y,Axis_Z],[Quat_W,Quat_X,Quat_Y,Quat_Z],[BaseRot_Y,replace,repace,replace],[9E+9,9E+9,9E+9,9E+9,9E+9,9E+9]],v2500,z50,tool0;From what we understood back then this is the position of the tip using the default arm extension. This is a black locater further out from the drill extension that is on the mesh in Maya. And the Quaternion values are the current rotation of this point. so we had the information of the worldmatrix of the tip of our drill and the baseplate rotation. from this the machine would calculate the Inverse Kinematics to reach the point. Some features of the robot arm are the same as an IK in maya you could have a flipped IK (or 180 degree twist) to reach the same destination, so in order to make sure that the machine did not rotate in unexpected ways we disabled this.
And to top it off, instead of feading precompiled code into the machine of the robot, I created a simple python port connection to the machine and fed the information into it directly, creating the exact same movement in real time as in Maya. Forced drawbacks on this where that the information would only be sent if the timeline was played in order to not have the machine go through a wall if you accidentally move the manipulator to far. And it had a built in limit in Maya on how fast it would move the arm as the owner of the robot stripped the speed limit of the robot itself.